- Home
- 2 x AT89C2051-24PU Digital Clock DIY Kit- Build Your Own Digital Clock with Alarm
Product Categories
- FREE SHIPPING Items (5)
- Bluetooth Audio Amplifier (27)
- Bluetooth Audio Amplifier (Apt-X) (29)
- Bluetooth Audio Receiver/Transmitter modules (26)
- Bluetooth Audio volume controller (3)
- Bluetooth Relays (16)
- Digital Menu and Calenders (3)
- Scoreduino (11)
- RGB Scoreboards- Wi-Fi (10)
- Digital Scoreboards- Bluetooth (32)
- Scoreduino DMD- Bluetooth (15)
- Dot Matrix Displays (11)
- Arduino Modules (13)
- Arduino Shields (6)
- Counters (7)
- DIY Kits (17)
- Lazybones (2)
- Bluetooth Relays (16)
- RF Relays (7)
- Timer Relays (9)
- USB Relays (19)
- FM transmitters (3)
- Buck and Boost Modules (1)
- Power supplies (9)
Featured product
Description
This is a simple DIY digital clock kit for beginners.
It is based on AT89C2051-24PU. It has basic functions like hour and minute display, minute and second display and and 2 alarms set up.
There is a buzzer which works as an alarm. You will hear 3 beeps when the clock reaches hours...like 1:00, 12:00, etc. The beep is optional.
You can use a 3.3V to 6V battery to operate this kit.
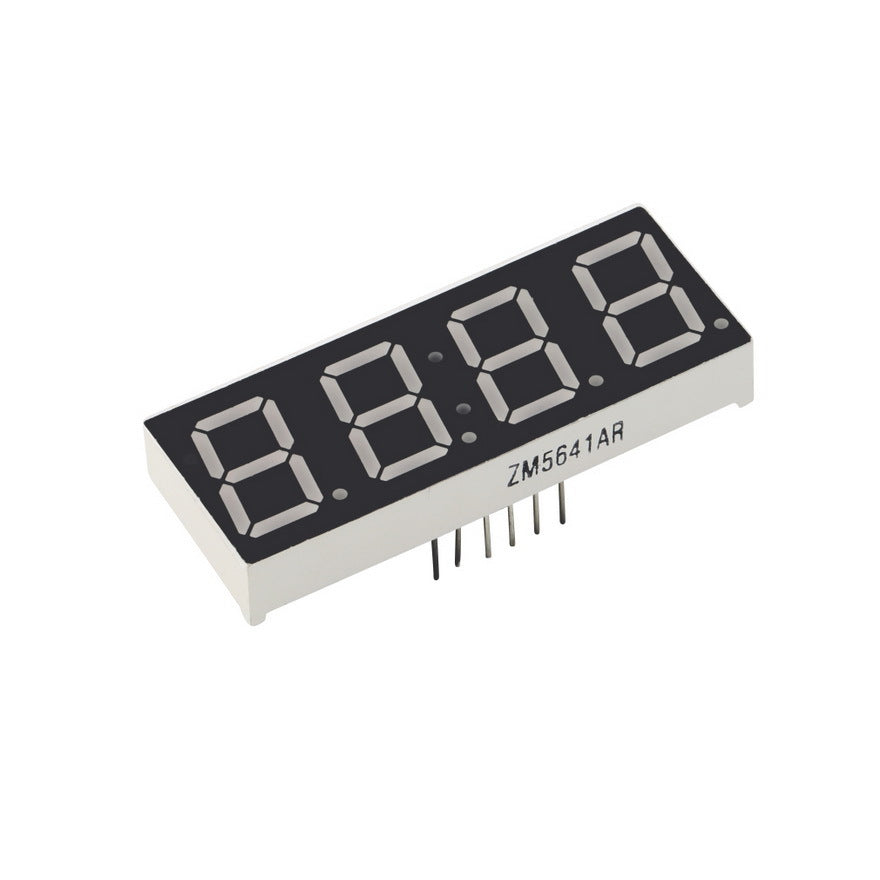
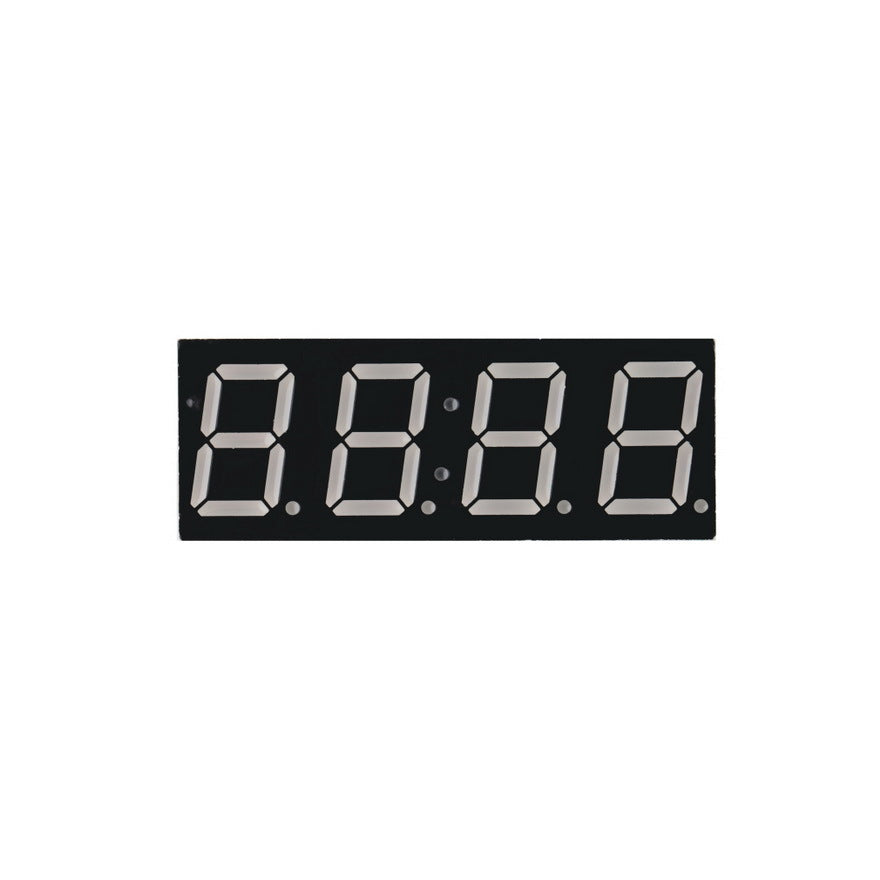
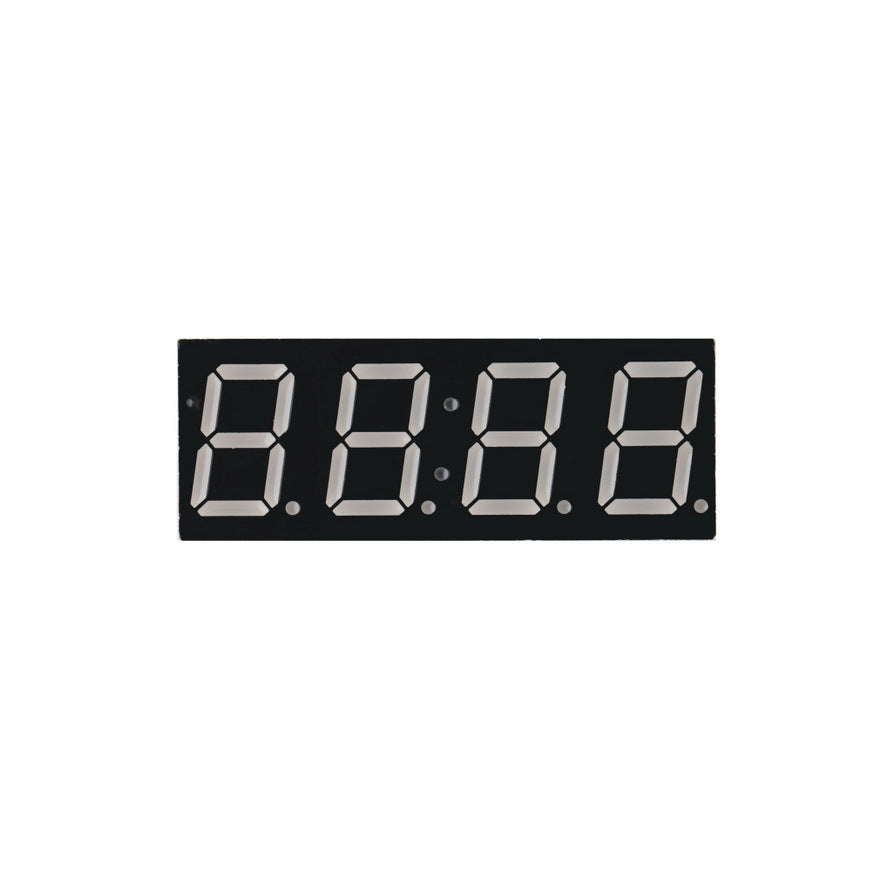
There are two switches to set up time and alarm- S1 and S2. The display is with 4 digit seven segment display.
How to set up time ?
There are two switches S1 and S2 on the kit. After you turn on the kit, you will see hour and minute displayed on the display. Press S2 to see the minute and second, and press S2 once again to go back to see hour and minute display.
To set time, press S1 until you hear 2 beeps at the same time (beep-beep, very quickly) and then, you will see A displayed on the seven segment. A means hour on the display. Then, press S2 to increase the hour number. After that, press S1 once to see B which means minute setting, you will see 00 by default. Keep on pressing S2 to set the minute. After you reach the required minute setting, press S1 again and you are done.
How to set up alarm ?
You can set up two alarms in the kit. Before learning how to set up alarm, you need to learn to set up the time. Then only you will know how to set up the alarm.
While setting up the time, you will notice A and B displayed on the seven segment display.
As you keep on pressing switch S1, you will see C, D, E, F, G, H and I. However, there are some conditions.
Meaning of the text are given below:
C- Three beeps when the clock display hours, for example, it will beep three times when the clock reaches 1:00, 02:00, 12:00, etc. - Press S2 to turn it ON or OFF. If you turn it OFF, you won't hear the beep.
D- You will see D when you press S1. It is the first alarm- Press S2 to turn it ON or OFF
G- Second Alarm- Press S2 to turn it ON or OFF.
If you have turned ON D, then, you will see E and F.
E means hour setting for the first alarm and F means minute setting for the first alarm.
Likewise, if you have turned ON G, you will see H and I.
H means hour setting for the second alarm and I means minute setting for the second alarm.
Press S2 to increase hour and minute in both alarms.
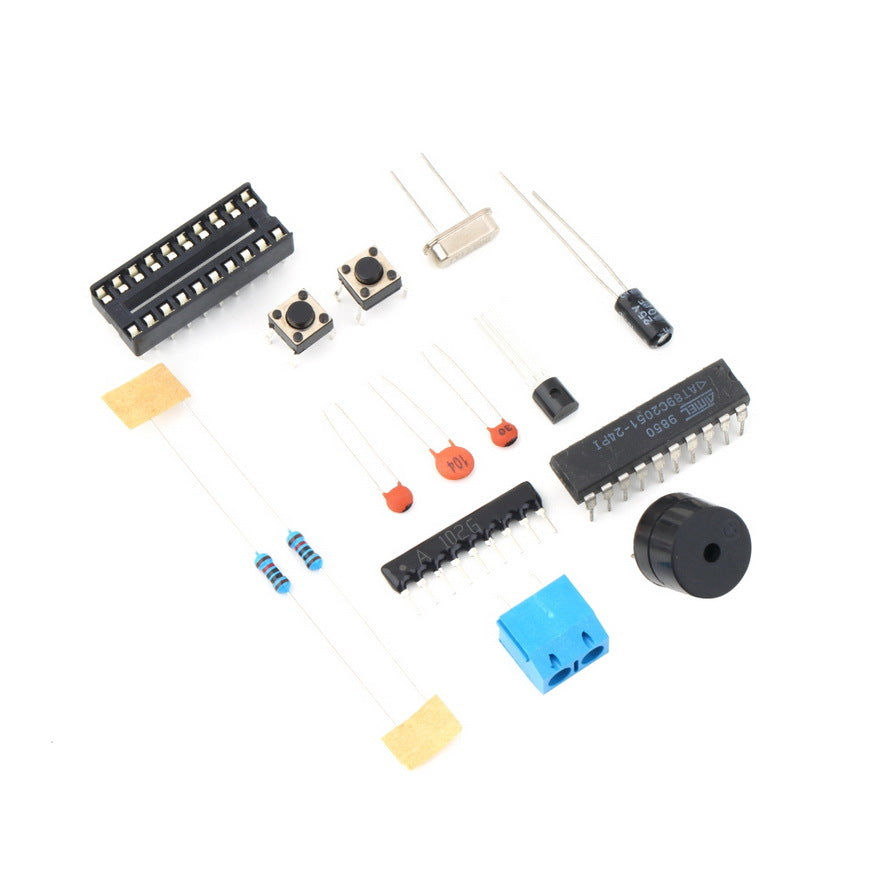
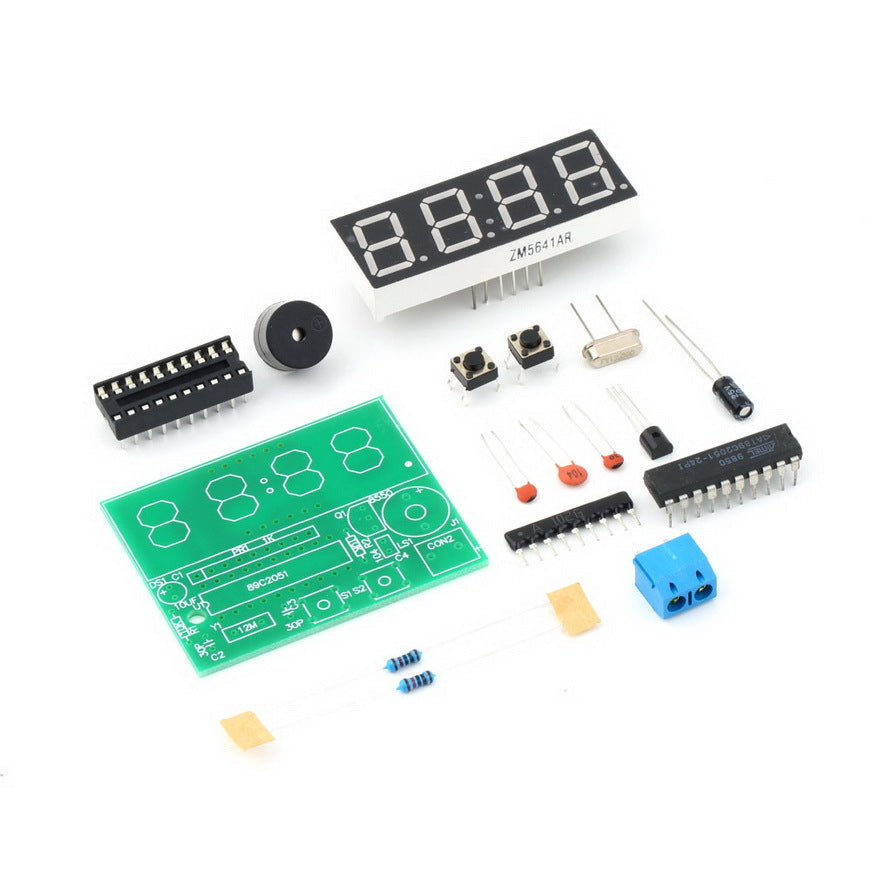
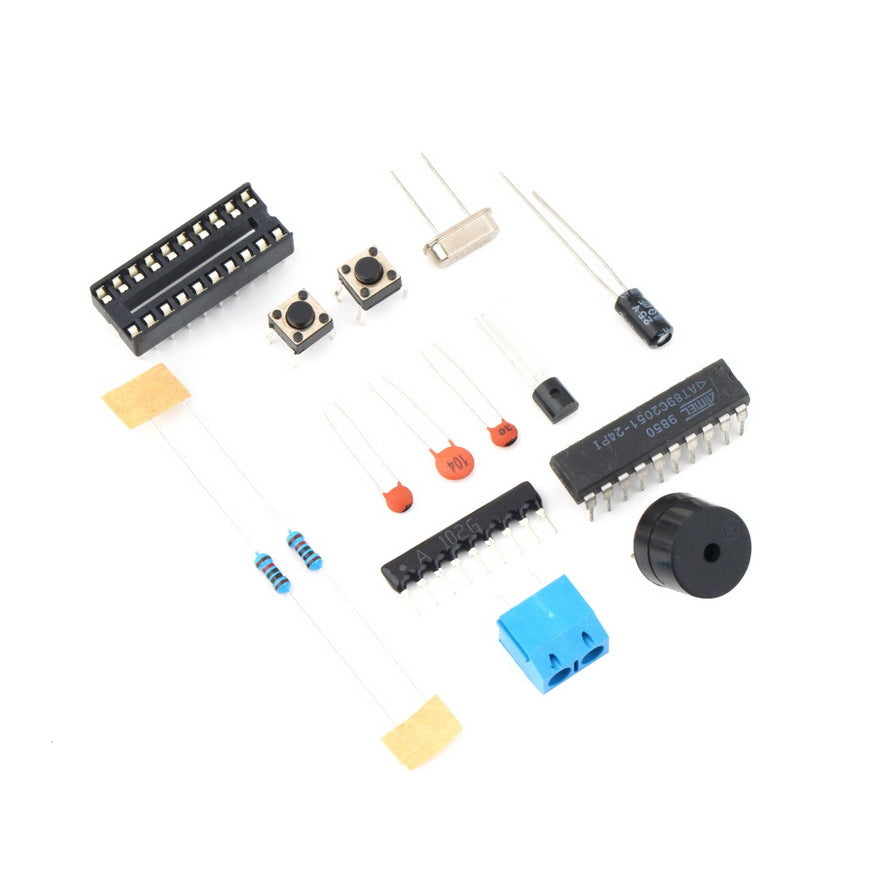
Included Components:
- 1 x PCB
- 1 x Integrated Circuit Chip- AT89C2051-24PU.
- 1 x IC socket
- 2 x 10K resistor
- 2 x Reset tactile switch
- 1 x SS8550 transistor
- 1 x 12Mhz oscillator
- 1 x 0.1uF capacitor
- 2 x 30pF capacitor
- 1 x 10uF electrolytic capacitor
- 1 x buzzer
- 1 x 2 pin screw terminal
- 1 x resistor package.
- 1 x 4 digit seven segment display
Documents:
Package Includes: 1 x Components required to build Digital Clock
Shipping & Return
SHIPPING
Our default shipping method is Registered International Post with a tracking code. Alternatively, you may opt for express shipping via DHL or FedEx.
Please note that we endeavor to ship all orders within 24 to 48 hours. The typical delivery time frame ranges between 2 to 4 weeks.
Kindly be aware that unforeseen circumstances, including customs or postal delays, may occasionally affect delivery times beyond our control.
Customers are responsible for any customs charges and should verify their country's customs policy.
RETURNS
If you are dissatisfied with the product, you may initiate a return within one month from the date of delivery. Please ensure that the product is sent back to our address in Sydney, Australia. Kindly note that all shipping charges associated with the return are the responsibility of the customer.
Reviews
Recently viewed products
Copyright © BUILDCIRCUIT.COM and SCOREDUINO.COM. All Rights Reserved.
-
WHAT ARE YOU LOOKING FOR?Search
- Login / Register
- Home
-
Shop
All categories
- FREE SHIPPING Items
- Bluetooth Audio Amplifier
- Bluetooth Audio Amplifier (Apt-X)
- Bluetooth Audio Receiver/Transmitter modules
- Bluetooth Audio volume controller
- Bluetooth Relays
- Digital Menu and Calenders
- Scoreduino
- RGB Scoreboards- Wi-Fi
- Digital Scoreboards- Bluetooth
- Scoreduino DMD- Bluetooth
- Dot Matrix Displays
- Arduino Modules
- Arduino Shields
- Counters
- DIY Kits
- Lazybones
- Bluetooth Relays
- RF Relays
- Timer Relays
- USB Relays
- FM transmitters
- Buck and Boost Modules
- Power supplies
- page
- Blog Tutorials and Documents
- Wishlist (0)
- Compare (0)
- Contact Us

