- Home
- Build Your Own Long-Range FM Transmitter: DIY Project with 3 Transistors and 3 Inductors
Product Categories
- FREE SHIPPING Items (5)
- Bluetooth Audio Amplifier (27)
- Bluetooth Audio Amplifier (Apt-X) (29)
- Bluetooth Audio Receiver/Transmitter modules (26)
- Bluetooth Audio volume controller (3)
- Bluetooth Relays (16)
- Digital Menu and Calenders (3)
- Scoreduino (11)
- RGB Scoreboards- Wi-Fi (10)
- Digital Scoreboards- Bluetooth (32)
- Scoreduino DMD- Bluetooth (15)
- Dot Matrix Displays (11)
- Arduino Modules (13)
- Arduino Shields (6)
- Counters (7)
- DIY Kits (17)
- Lazybones (2)
- Bluetooth Relays (16)
- RF Relays (7)
- Timer Relays (9)
- USB Relays (19)
- FM transmitters (3)
- Buck and Boost Modules (1)
- Power supplies (9)
Featured product
Description
WARNING: BUYING and USING an FM transmitter is illegal in several countries. Make sure that it is legal to use in your country before you place an order.
Transmission Range: 100m-300m
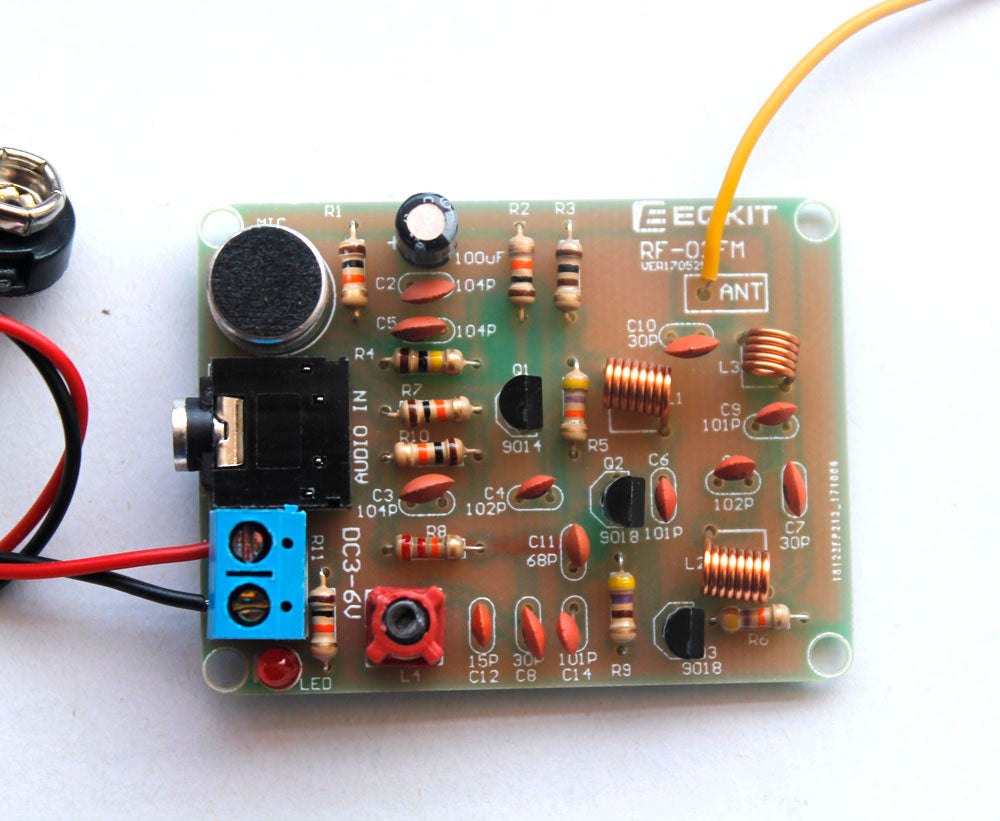
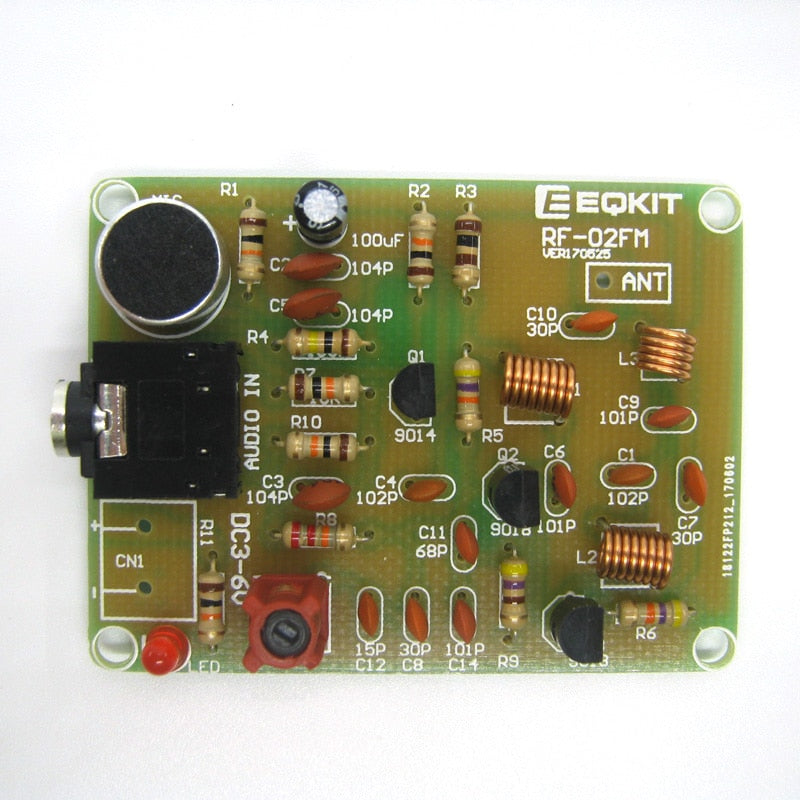
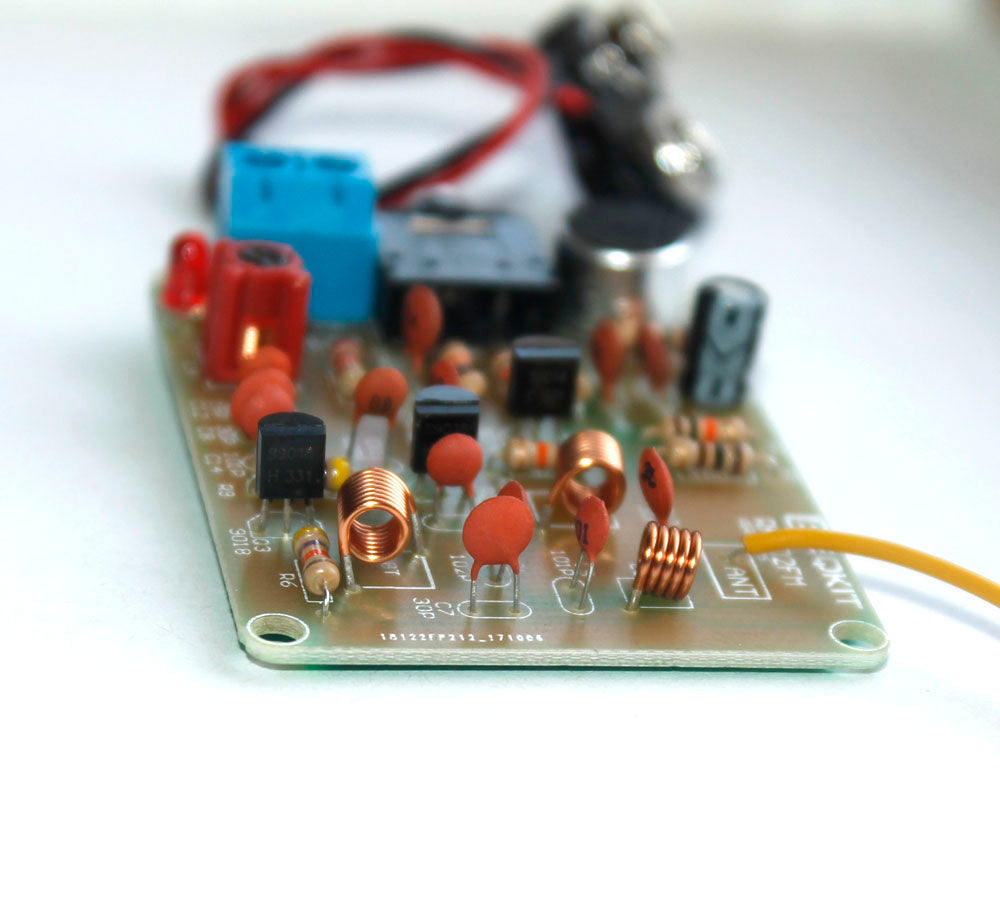
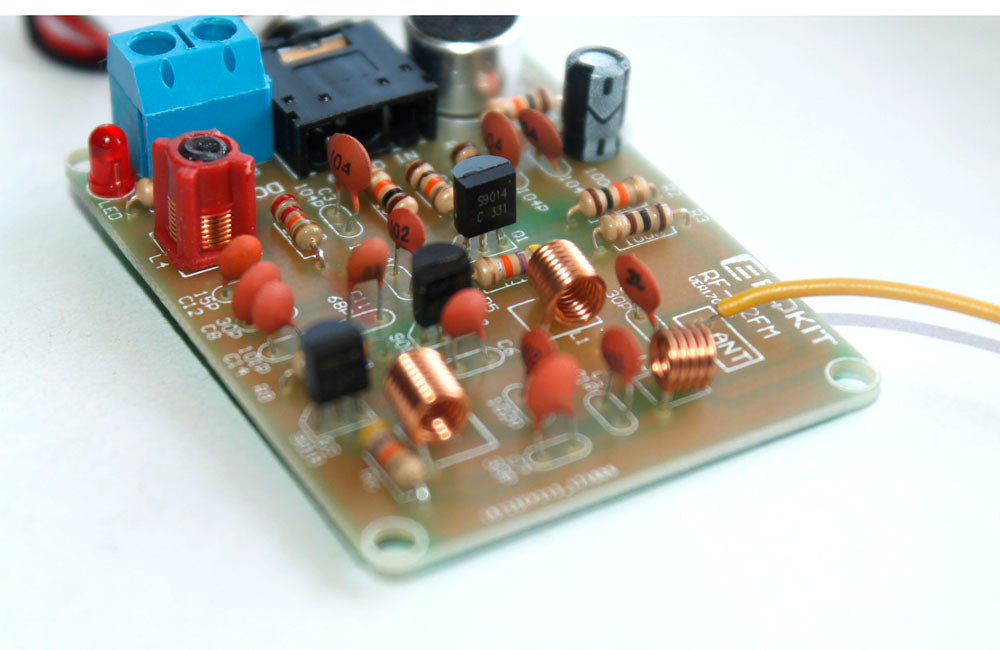
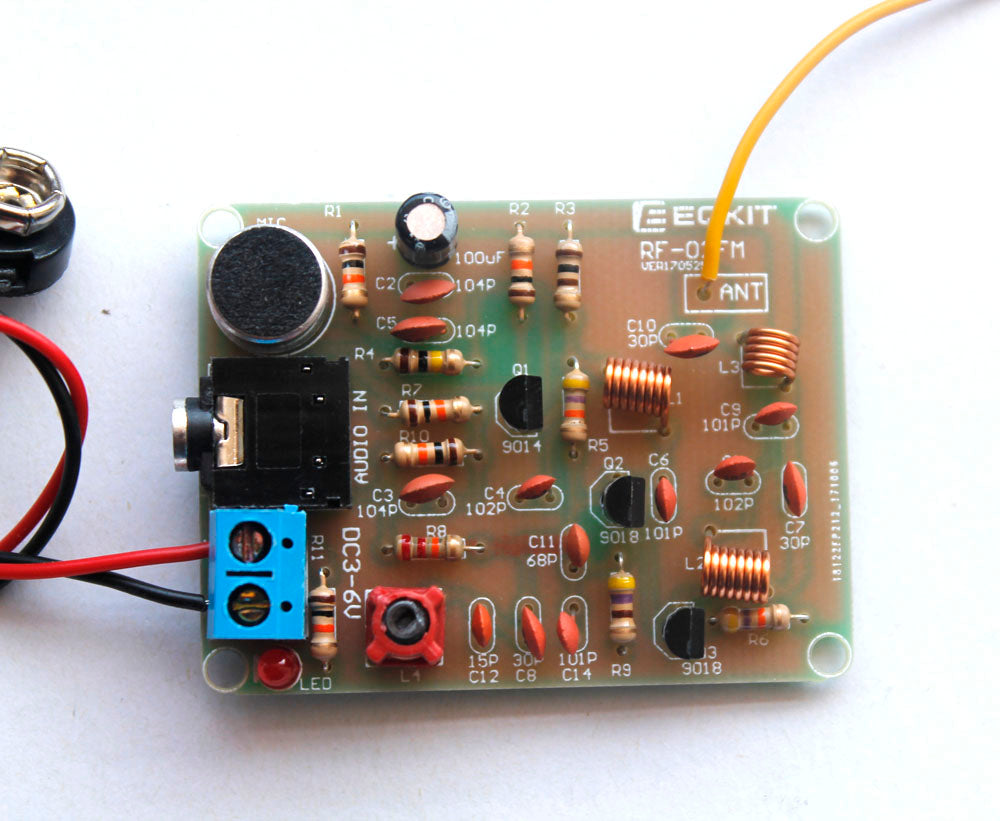
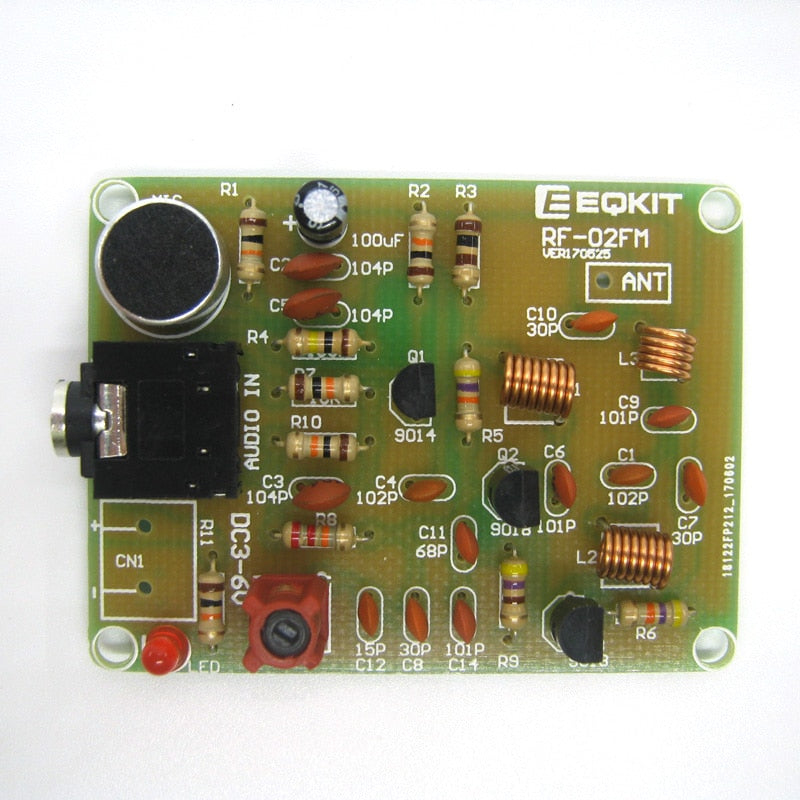
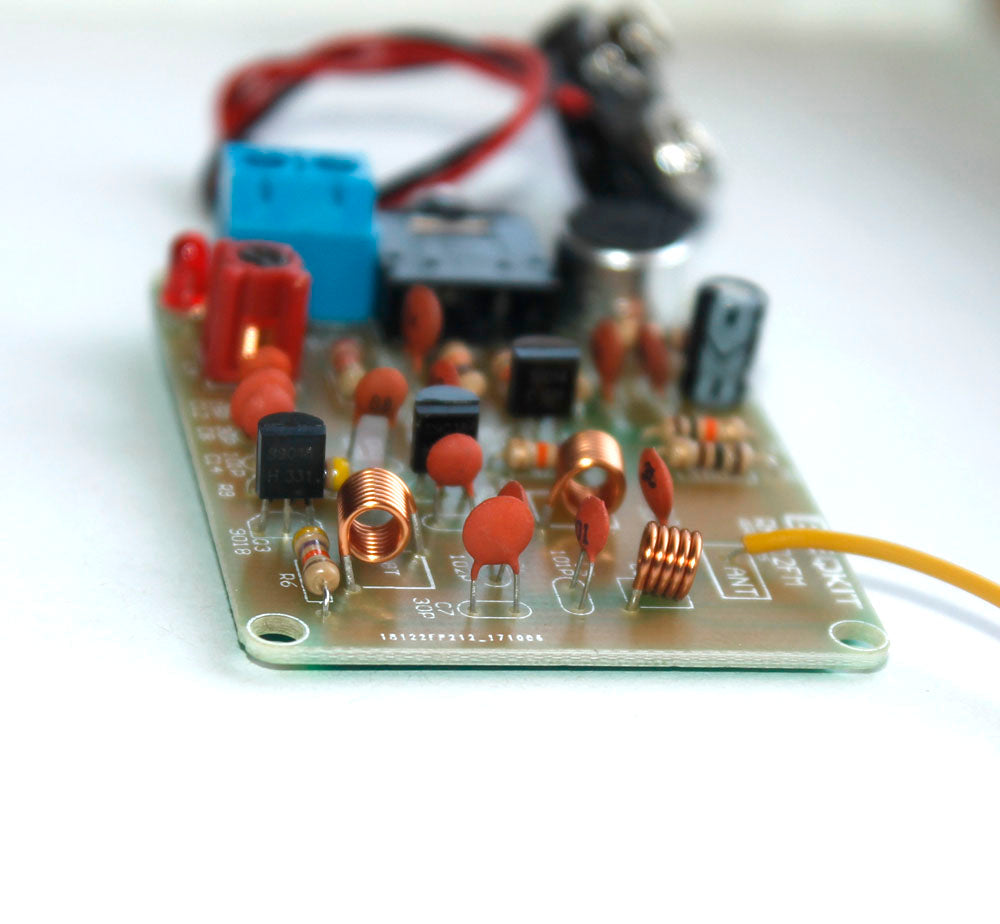
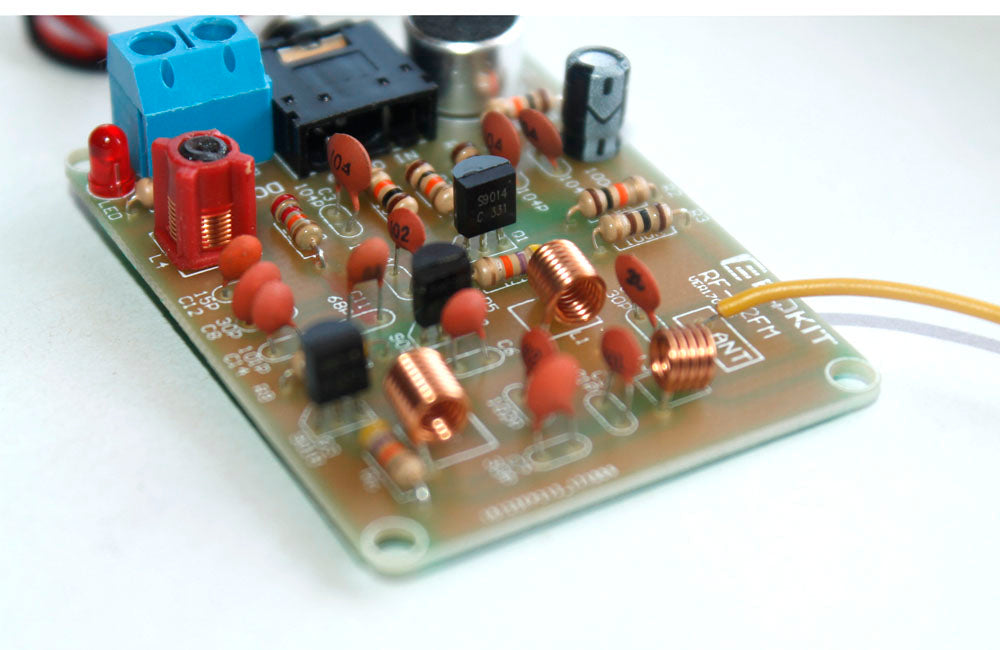
This is one of the most powerful and reliable do-it-yourself(DIY) FM transmitters. It can easily transmit audio signals up to 300 meters because it has 3 transistors and 3 inductors. It is a do-it-yourself (DIY) kit. Basic soldering skills should help you to build this transmitter easily and it works perfectly on the first attempt. We are also selling a similar transmitter kit. The other transmitter has a volume controller and can take up to 9V which helps in transmitting signals up to 500 meters.

Features:
- Transmission range: 100m-300m (depending upon antenna length, test environment, power supply, and FM receiver )
- Audio and voice transmission: Transmit both audio or voice. The audio signal can reach 100m-300m depending upon the antenna of the receiver and used environment. For example, if you transmit from a higher building keeping the antenna by your window, the signals easily reach up to 300m. It is highly recommended that you test the transmitter in the open ground/space where there are no buildings or any other obstacles.
- First test: You can test the transmitter immediately after you assemble it. You can use any general FM radio
- Frequency range: 88Mhz-108Mhz.
- You can adjust the frequency.
- Antenna: if you use 20cm wire as an antenna, it can transmit up to 100m. With 40cm, it can transmit up to 200meters and with a 60cm long antenna, you can transmit up to 300 meters.
- Operating voltage: 3V-6V. We have tested using a 6V battery.
- Operating Current:3.3-29mA
- Audio Response:20Hz-15KHz
- Radio Frequency Power:-2dBM~15dBm
- Radio Frequency Output Impedance:50 ohm
- Board Size:50*30mm
- The Second Harmonic:>=-40dB
- Receiver Devices: General FM radio/cellphone which has FM radio function/Car FM radio(Recommended for testing)
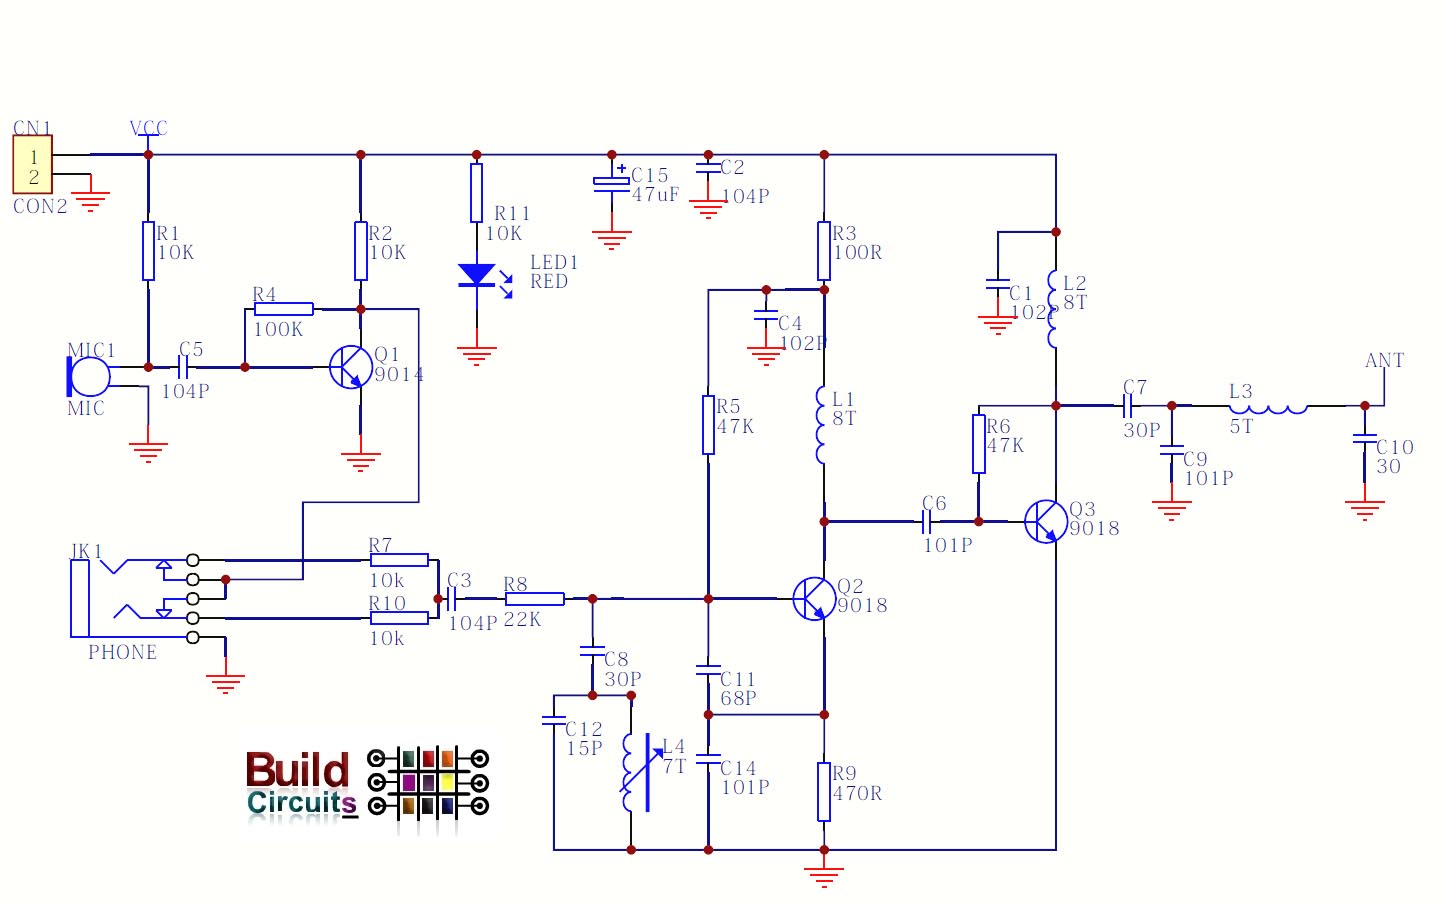
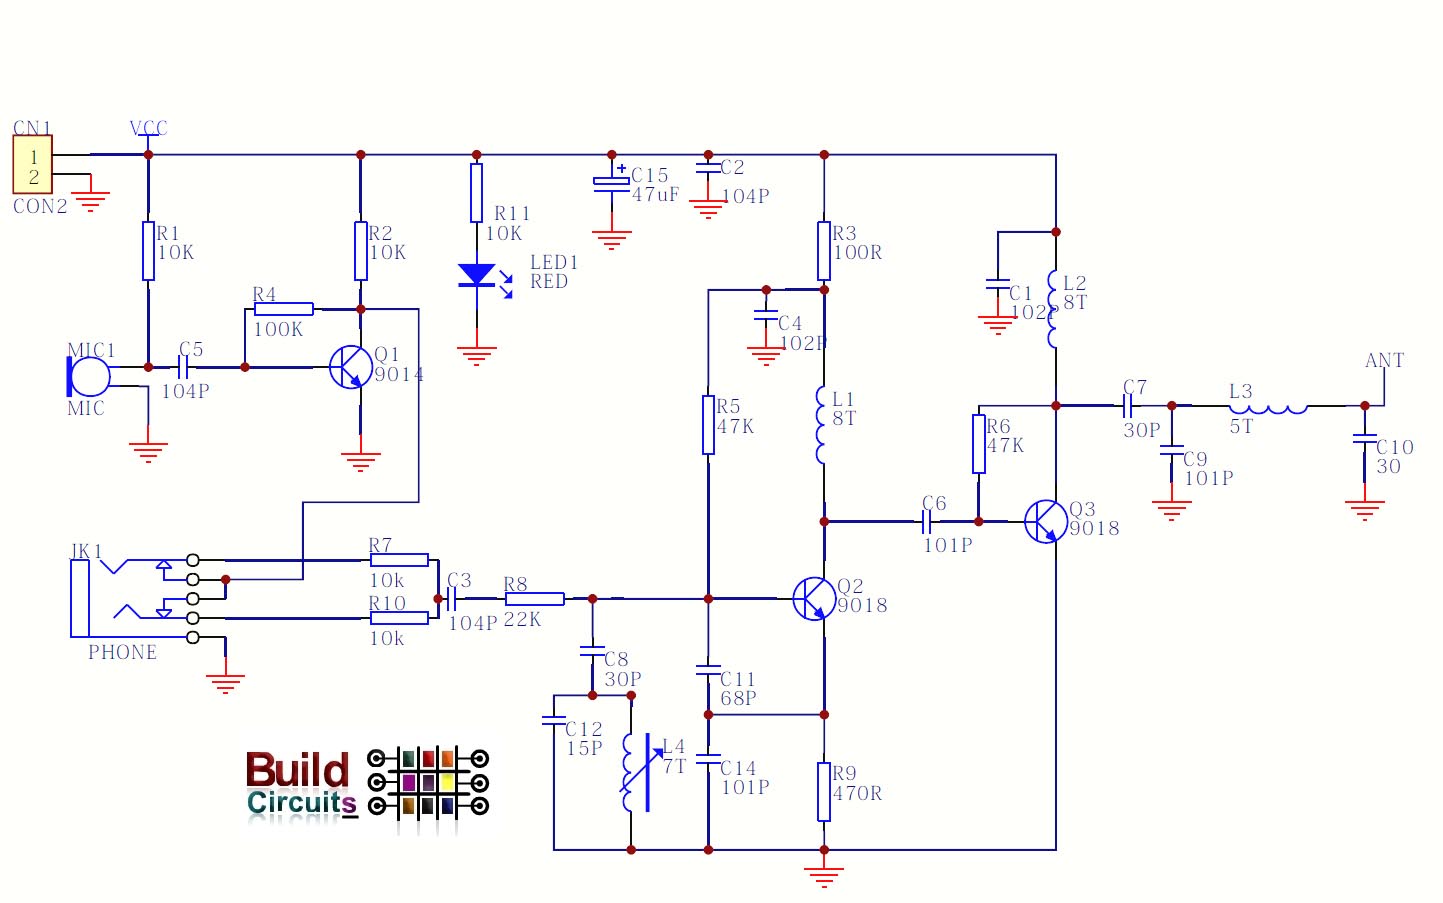
Schematic and assembly: https://www.buildcircuit.com/?attachment_id=23317

Assembly tutorial:
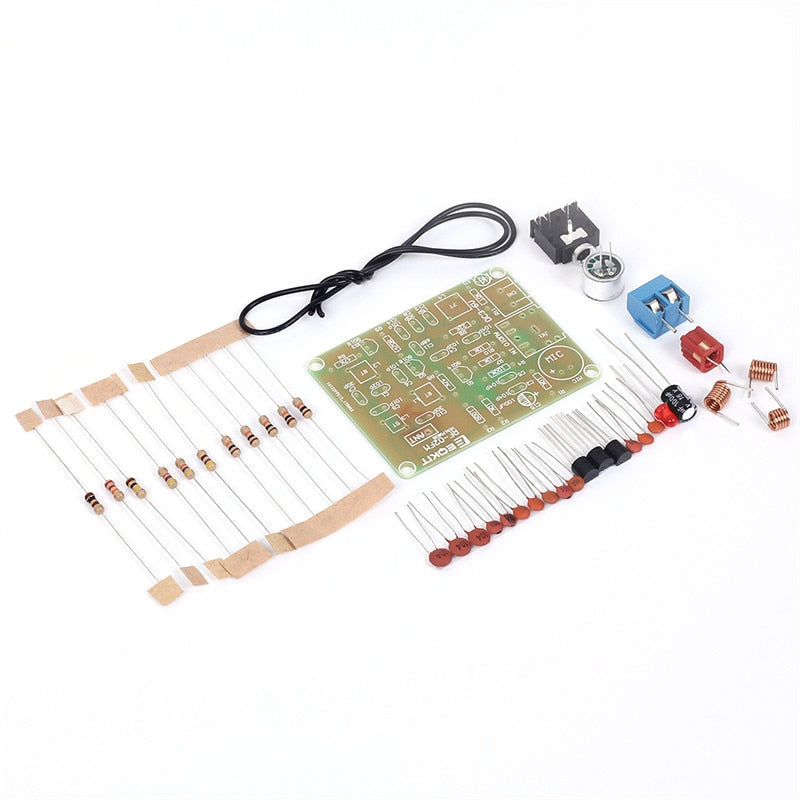
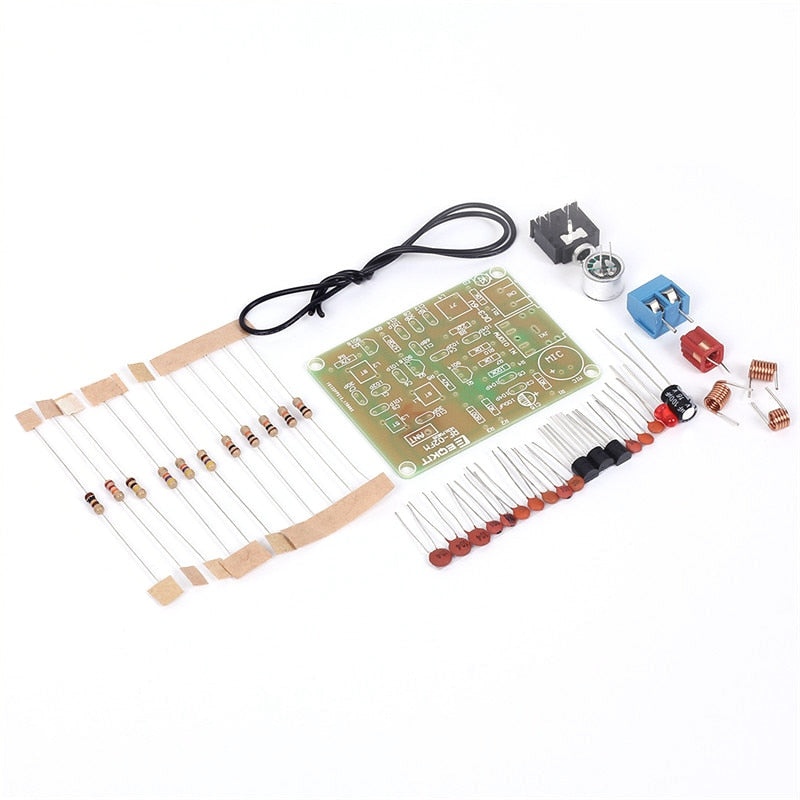
Components included: Assembly document
- 1 x Screw Terminal
- 1 x 5P Audio Socket
- 1 x Electret microphone
- C15- 1 x 100uF electrolytic capacitor
- Q1- 1 x S9014 (be careful, don't replace S9014 with S9018)
- Q2, Q3- 2 x S9018 (be careful, don't replace S9018 with S9014)
- 1 x 3mm LED
- R1, R2, R7, R10, R11- 5 x 10K Ohm resistor (Brown-Black-Orange)
- R5, R6- 2 x 47K Ohm resistor (Yello-Violet-Orange)
- R3- 1 x 100 Ohm resistor (Brown-Black-Brown)
- R4- 1 x 100K Ohm resistor (Brown-Black-Yellow)
- R9- 1 x 470 Ohm resistor (Yellow-Violet-Brown)
- R8- 1 x 22K Ohm resistor (Red-Red-Orange)
- 3 x 0.1uF (Code: 104)
- 3 x 30pF capacitor (Code: 30)
- 1 x 15pF capacitor (Code: 15)
- 3 x 100pF (Code: 101)
- 1 x 68pF (Code: 68)
- 1 x Ferrite core inductor (This is adjustable, use a small screw driver to adjust the frequency)
- L1- 1 x 8T
- L2- 1 x 8T
- L3- 1 x 5T
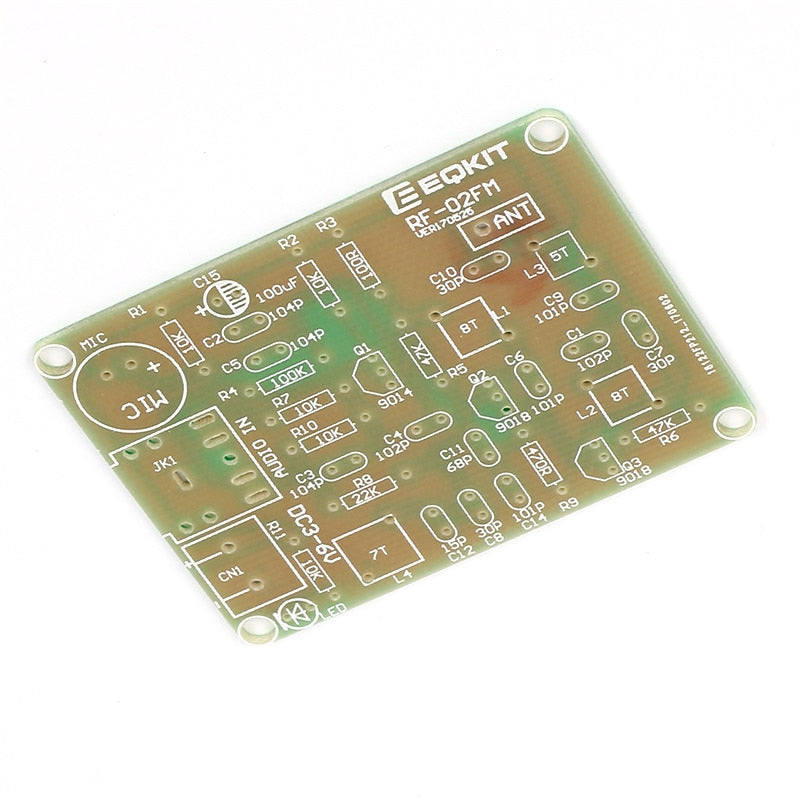
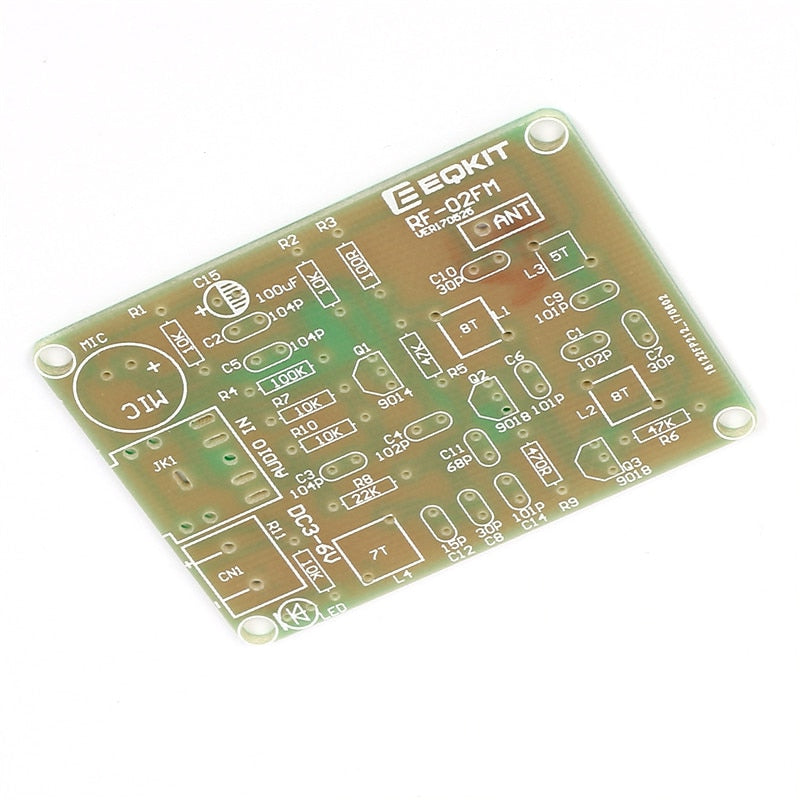
- 1 x PCB
What do you need to arrange yourself?
- Stereo audio cable- to connect from an audio source to the transmitter.
- 9V battery connector or any other kind of battery holder to power up the transmitter
- Antenna- You can use any 1-2mm thick and 20-40cm wire for antenna
- 3V-6V battery
- Any FM radio with telescopic antenna.
Didn't work? This is how you troubleshoot.
- Check the transistors: There is a high chance that you soldered the transistors in the wrong spots. There are three transistors and all look the same. Make sure that you soldered S9014 and S9018 in their right spots.
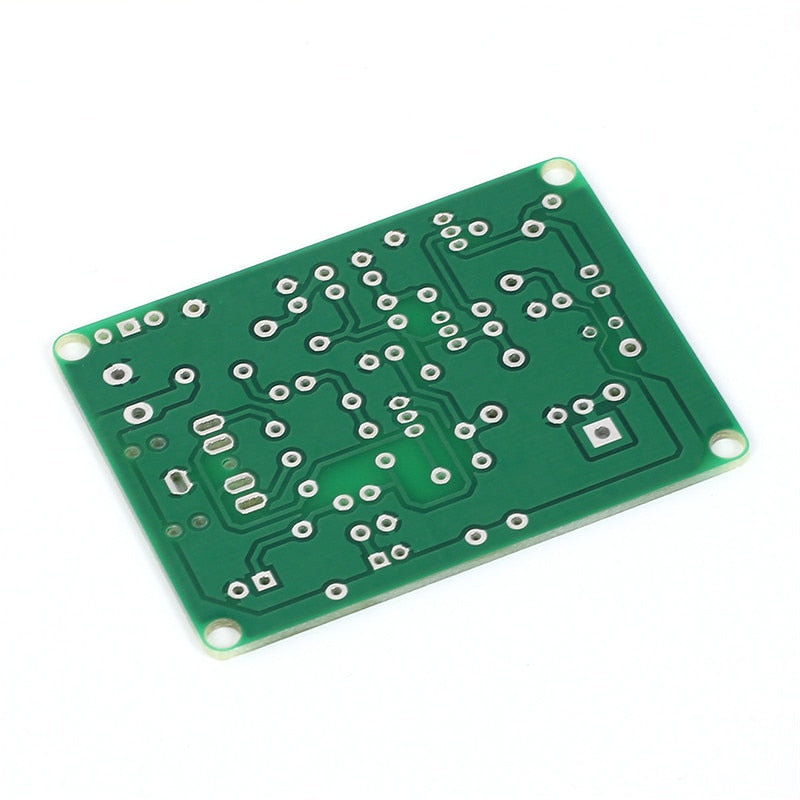
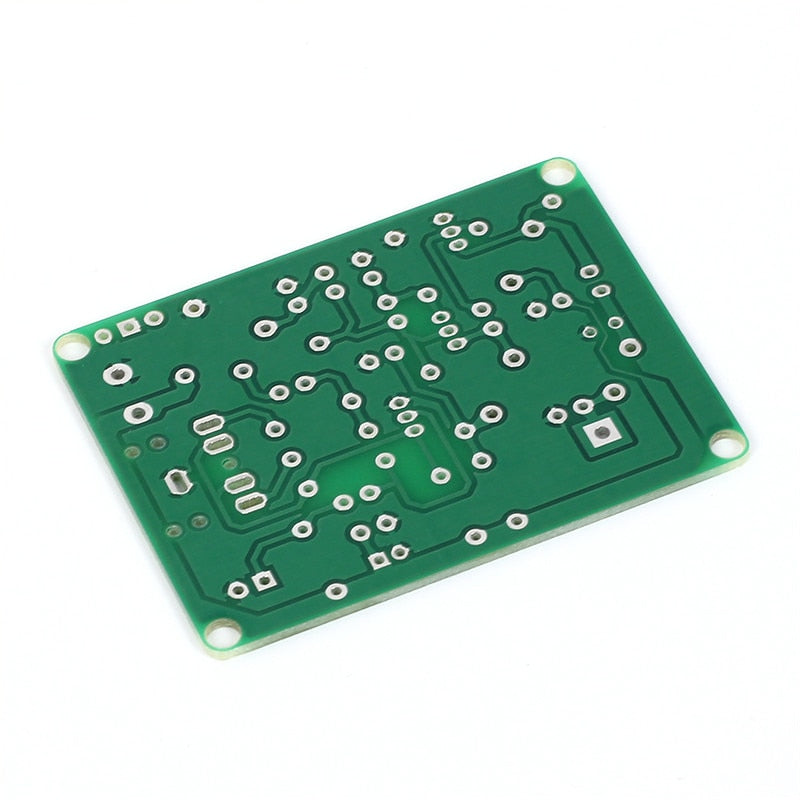
- Look at the back of the PCB, make sure there is no short.
- The electret microphone polarity could be wrong.
- The battery connector could be connected incorrectly.
- Resistors soldered incorrectly.
- Check the polarity of 3mm LED.
If the transmitter is working, you would hear feedback on your FM radio.
Shipping & Return
SHIPPING
Our default shipping method is Registered International Post with a tracking code. Alternatively, you may opt for express shipping via DHL or FedEx.
Please note that we endeavor to ship all orders within 24 to 48 hours. The typical delivery time frame ranges between 2 to 4 weeks.
Kindly be aware that unforeseen circumstances, including customs or postal delays, may occasionally affect delivery times beyond our control.
Customers are responsible for any customs charges and should verify their country's customs policy.
RETURNS
If you are dissatisfied with the product, you may initiate a return within one month from the date of delivery. Please ensure that the product is sent back to our address in Sydney, Australia. Kindly note that all shipping charges associated with the return are the responsibility of the customer.
Reviews
Related Products
Recently viewed products
Copyright © BUILDCIRCUIT.COM and SCOREDUINO.COM. All Rights Reserved.
-
WHAT ARE YOU LOOKING FOR?Search
- Login / Register
- Home
-
Shop
All categories
- FREE SHIPPING Items
- Bluetooth Audio Amplifier
- Bluetooth Audio Amplifier (Apt-X)
- Bluetooth Audio Receiver/Transmitter modules
- Bluetooth Audio volume controller
- Bluetooth Relays
- Digital Menu and Calenders
- Scoreduino
- RGB Scoreboards- Wi-Fi
- Digital Scoreboards- Bluetooth
- Scoreduino DMD- Bluetooth
- Dot Matrix Displays
- Arduino Modules
- Arduino Shields
- Counters
- DIY Kits
- Lazybones
- Bluetooth Relays
- RF Relays
- Timer Relays
- USB Relays
- FM transmitters
- Buck and Boost Modules
- Power supplies
- page
- Blog Tutorials and Documents
- Wishlist (0)
- Compare (0)
- Contact Us


